 EFB Public Beta
EFB Public Beta
EFB Public Beta
The first time you open Falken EFB, a ten-step setup wizard gets you from a blank app to a chart-loaded moving map. Nothing here is hard — this page just shows every screen ahead of time so none of it is a surprise. Almost every step can be skipped and finished later in Settings; only the account, the legal documents, and the permissions ask for anything at all.
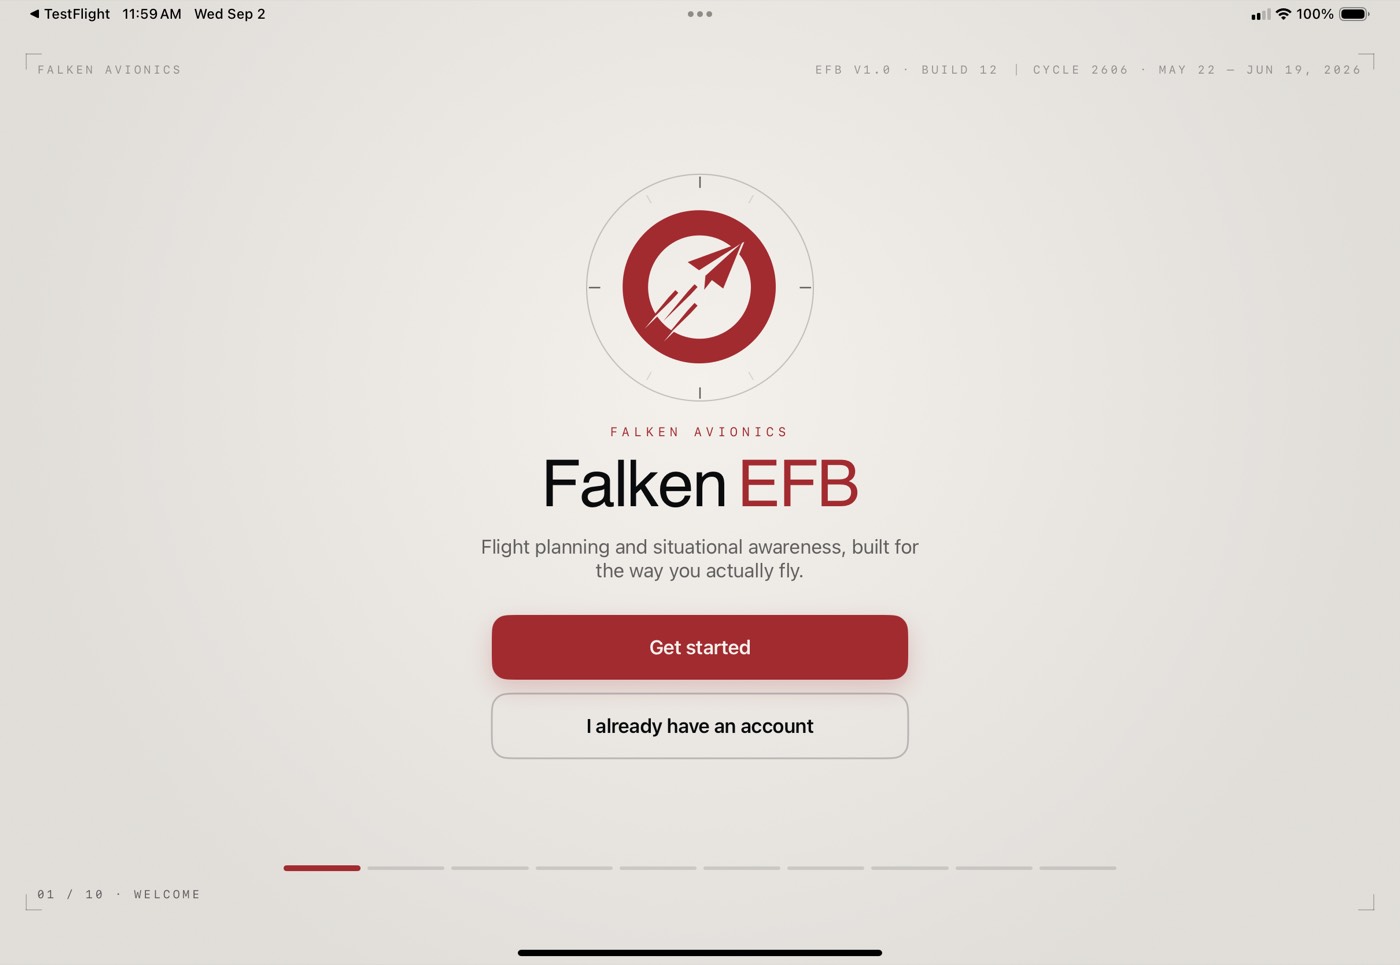
Tap Get started for a fresh setup. If you've run Falken EFB on another device before (or you're reinstalling), I already have an account signs you in and pulls your aircraft, routes, and settings from your account instead of asking again.
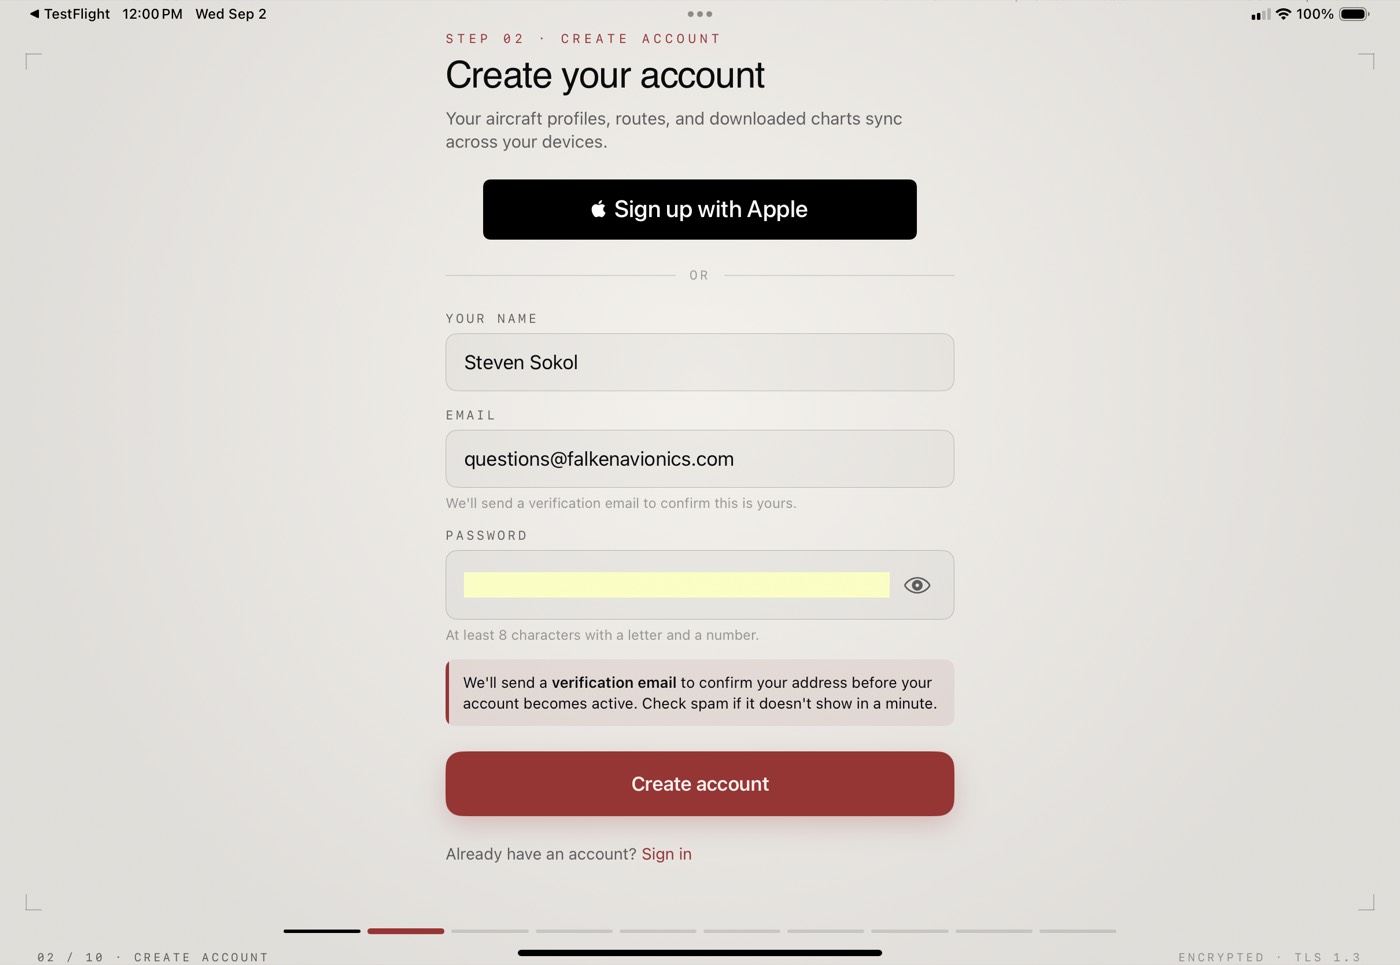
Your account is what syncs aircraft profiles, routes, and downloaded-chart choices across your devices — and it's how we grant your beta access.
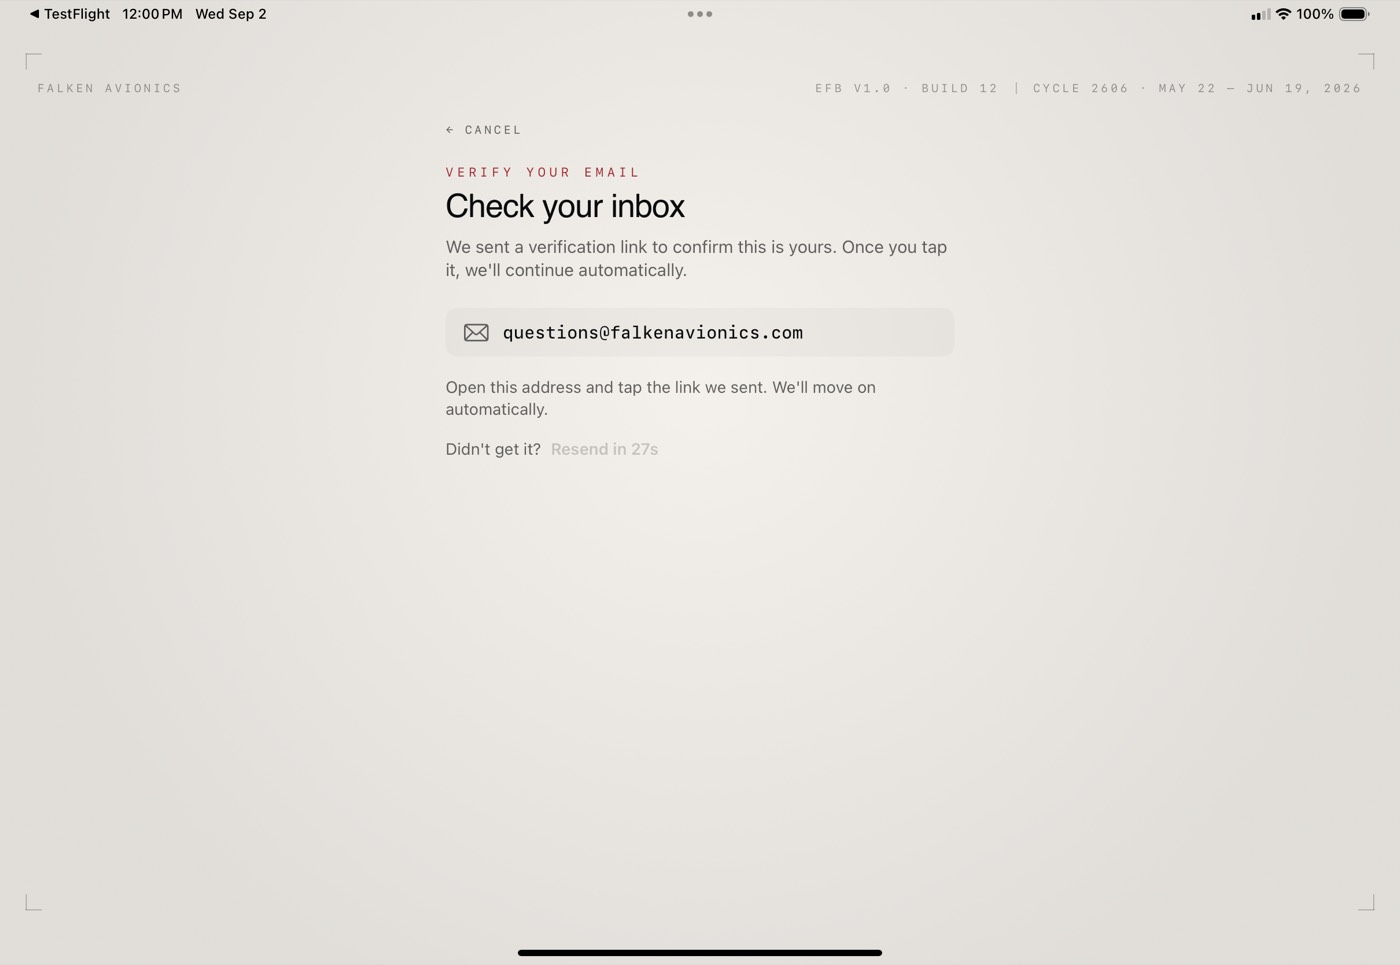
We hold the account until you confirm the address is yours. Open the verification email on this iPad or iPhone and tap the link — the app notices automatically and moves on. Nothing after a minute? Check spam, then use the resend link on this screen.
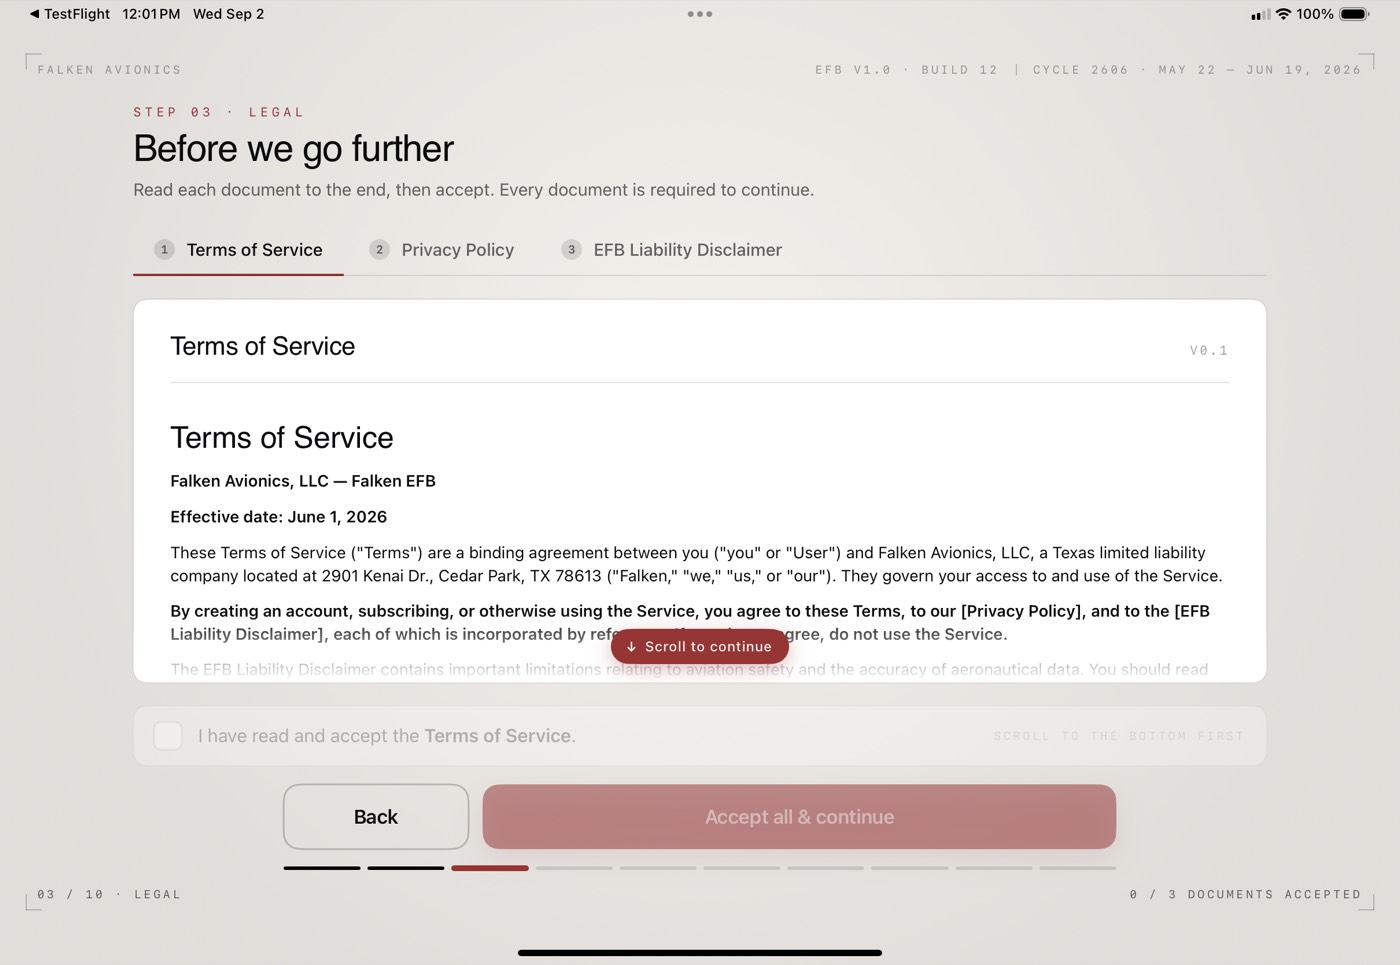
Three documents: Terms of Service, Privacy Policy, and the EFB Liability Disclaimer. Scroll each to the end, tick its checkbox, and the button walks you to the next one; after the third it becomes Accept all & continue.
The liability disclaimer is the one to actually read: Falken EFB is a supplemental aid to situational awareness, not a certified system or a primary means of navigation.
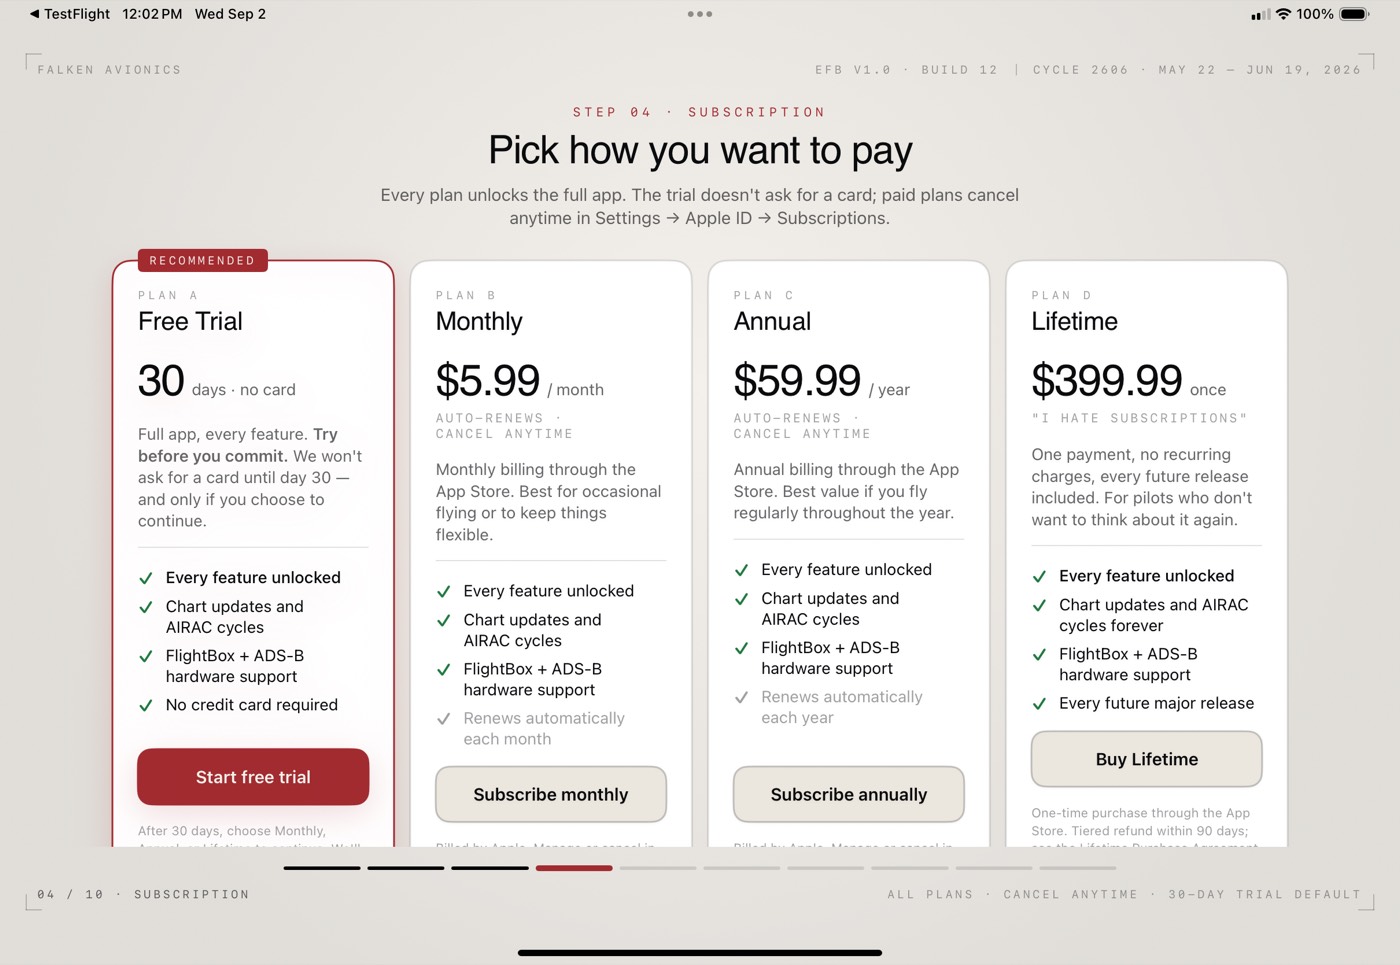
The one screen beta testers ask about. Short version: take the free trial.
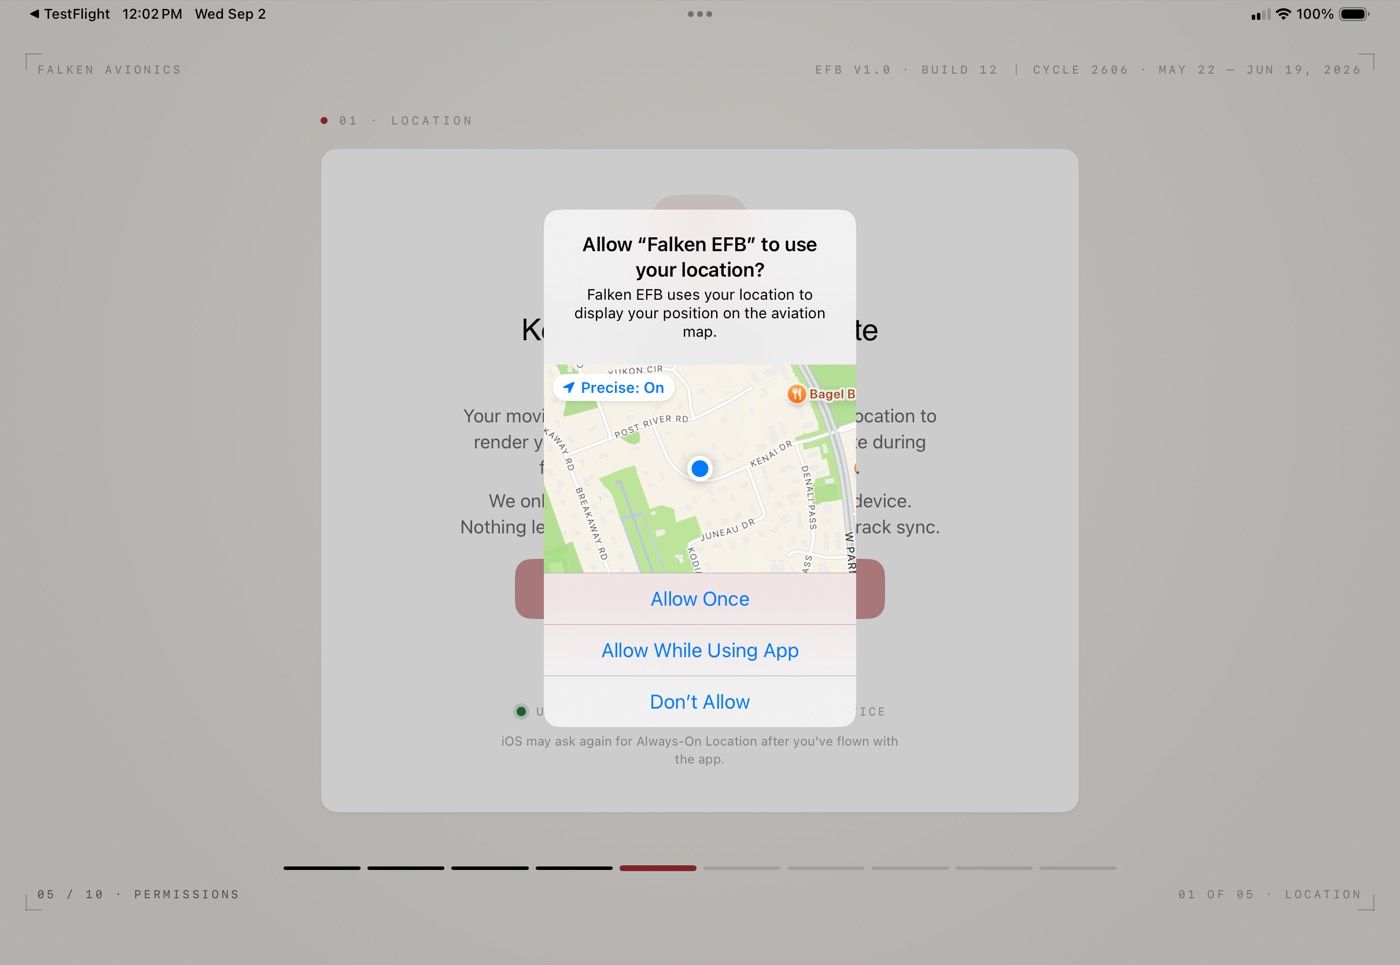
Five iOS permission asks, each with a screen first that explains why the app wants it — then the standard iOS dialog. What to answer and what each one powers:
Decline any of them and the app still runs — you just lose that feature until you flip it back on in iOS Settings.
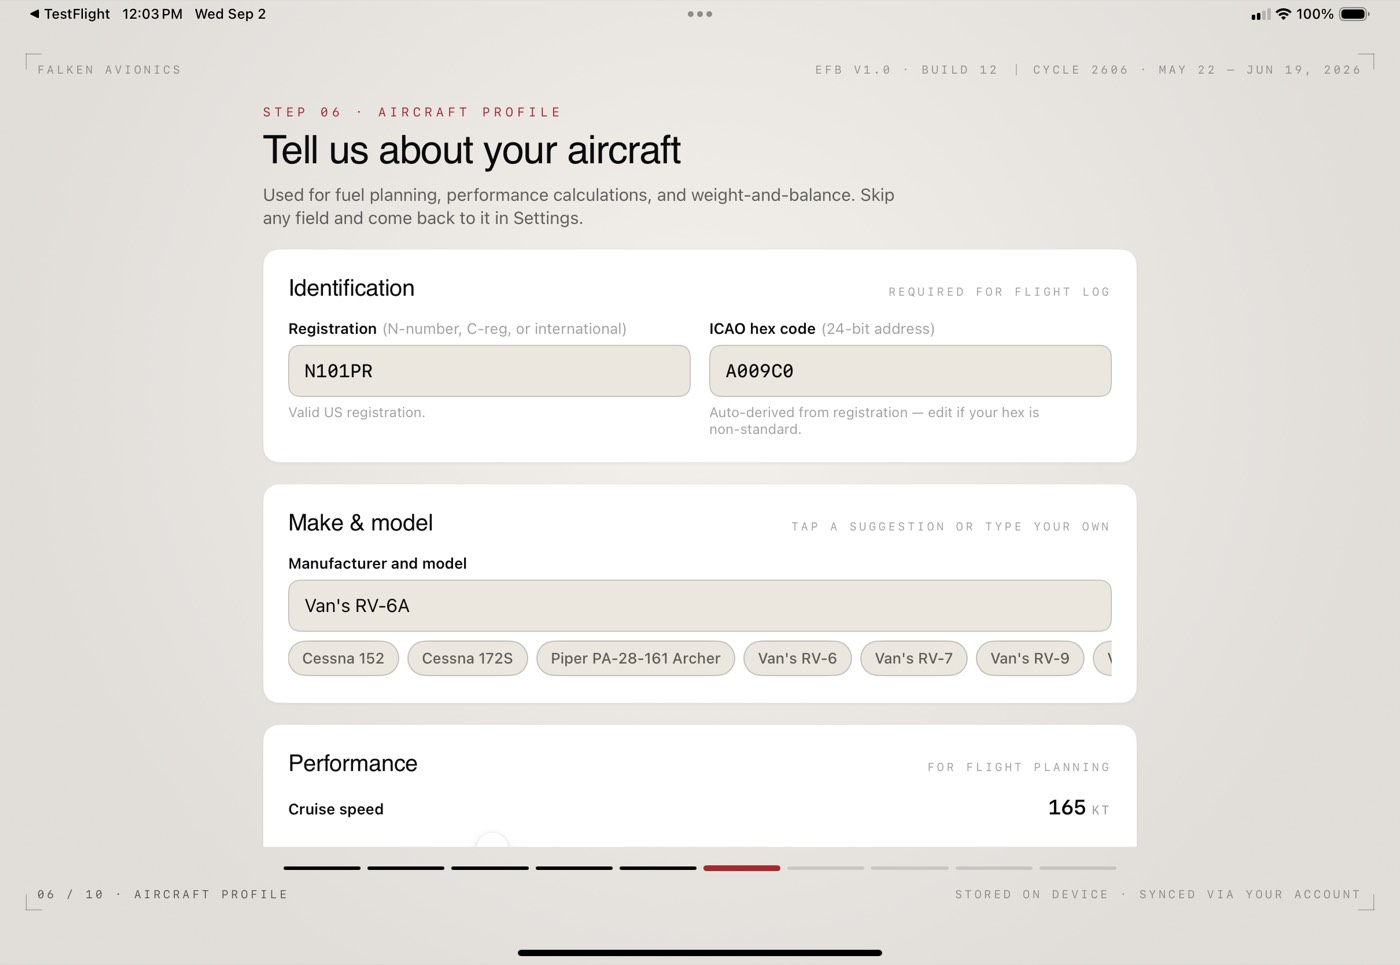
Feeds fuel planning, performance calculations, and weight & balance. Every field is skippable — come back in Settings anytime.
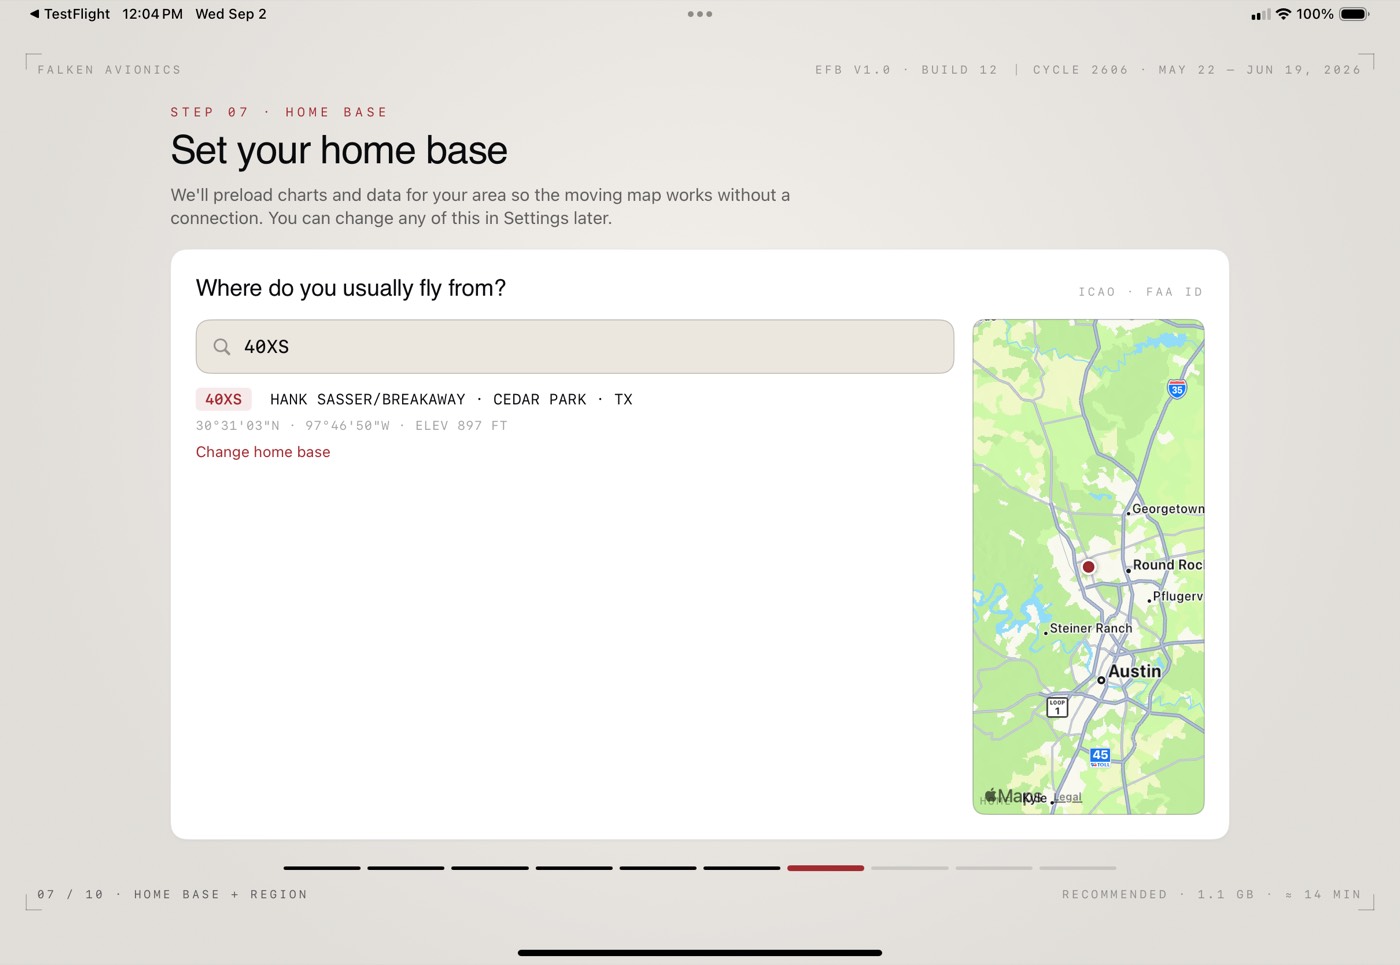
Search the airport you usually fly from — identifier or name both work. Your home base is where the map opens before GPS gets a fix, and it drives the recommended chart-download region on the next screen. Changeable later, like everything else.
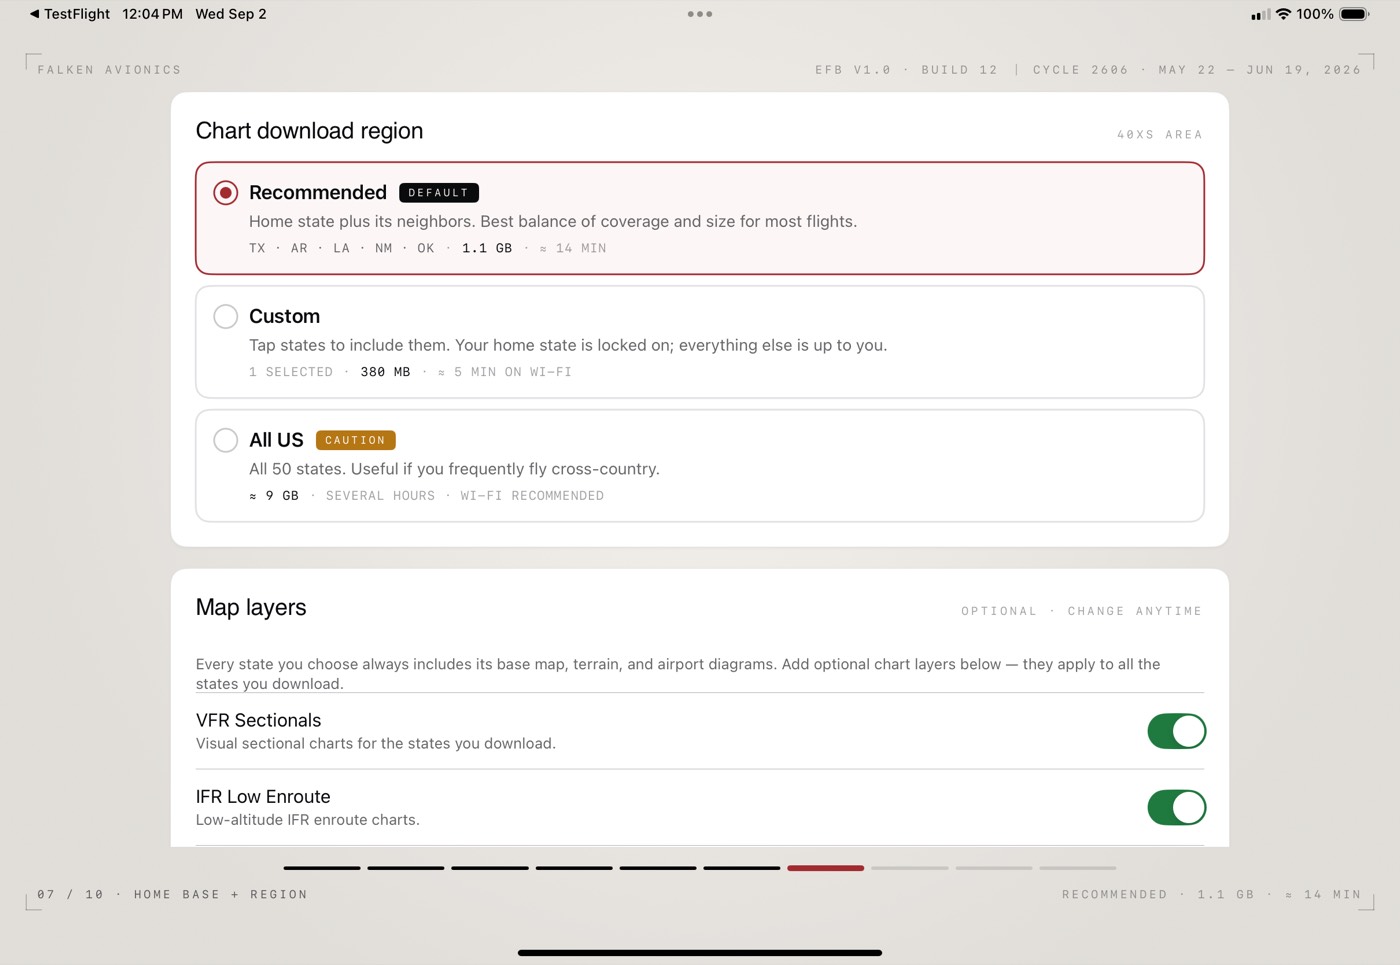
This is what makes the app work offline — no cell signal needed in the air. Do it on good Wi-Fi.
Downloads run in the background after setup — you don't have to sit on this screen.
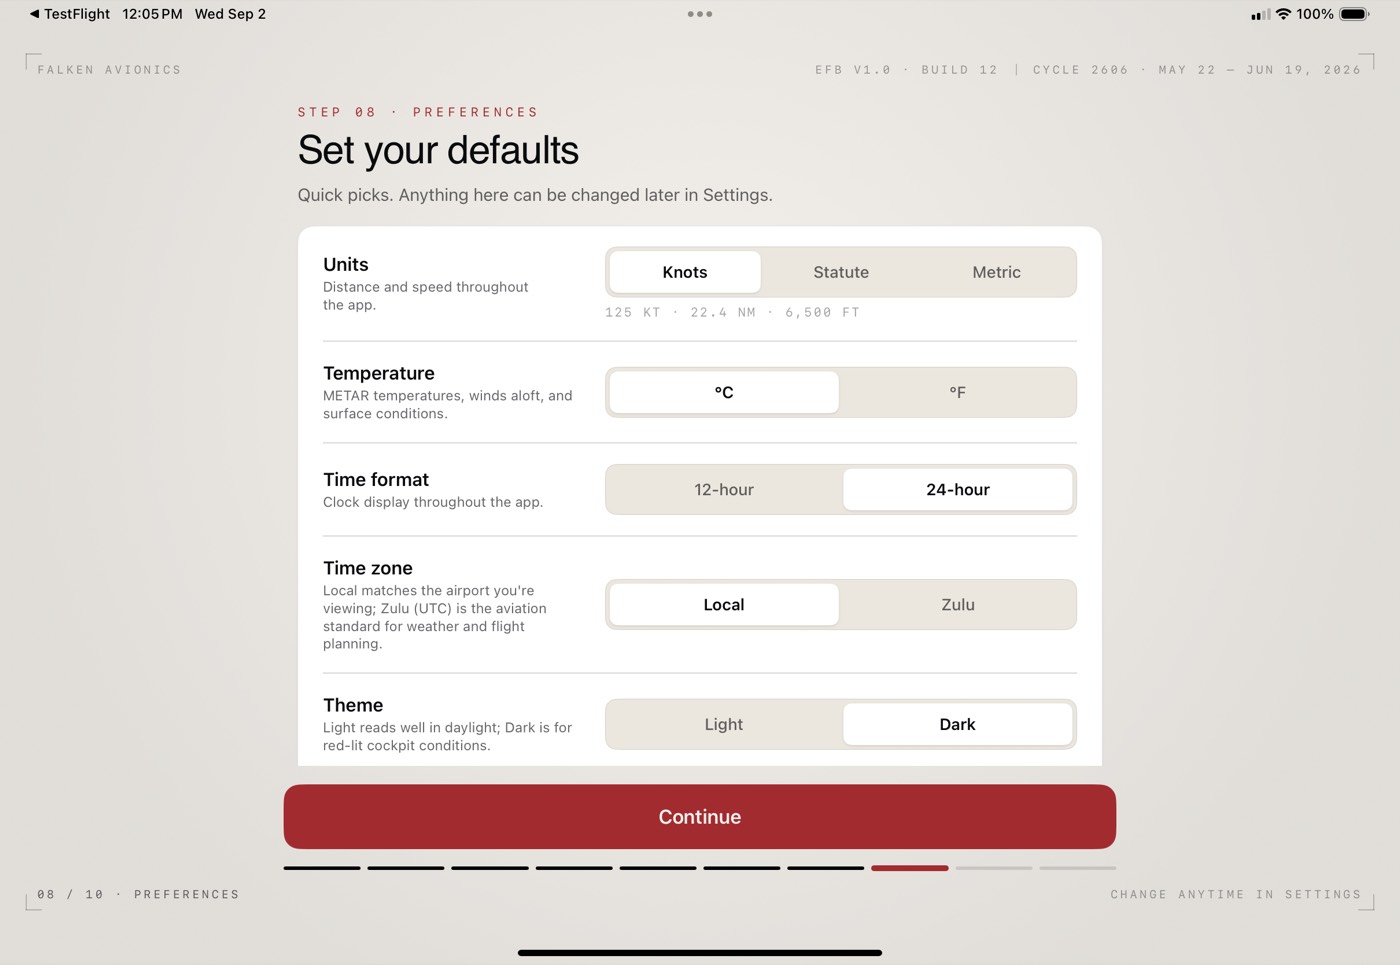
Quick picks: units (knots / statute / metric), METAR temperatures in °C or °F, 12- or 24-hour clock, Local vs. Zulu time, and Light or Dark theme (Dark is built for red-lit cockpit conditions). Nothing here is a commitment — it's all in Settings later.
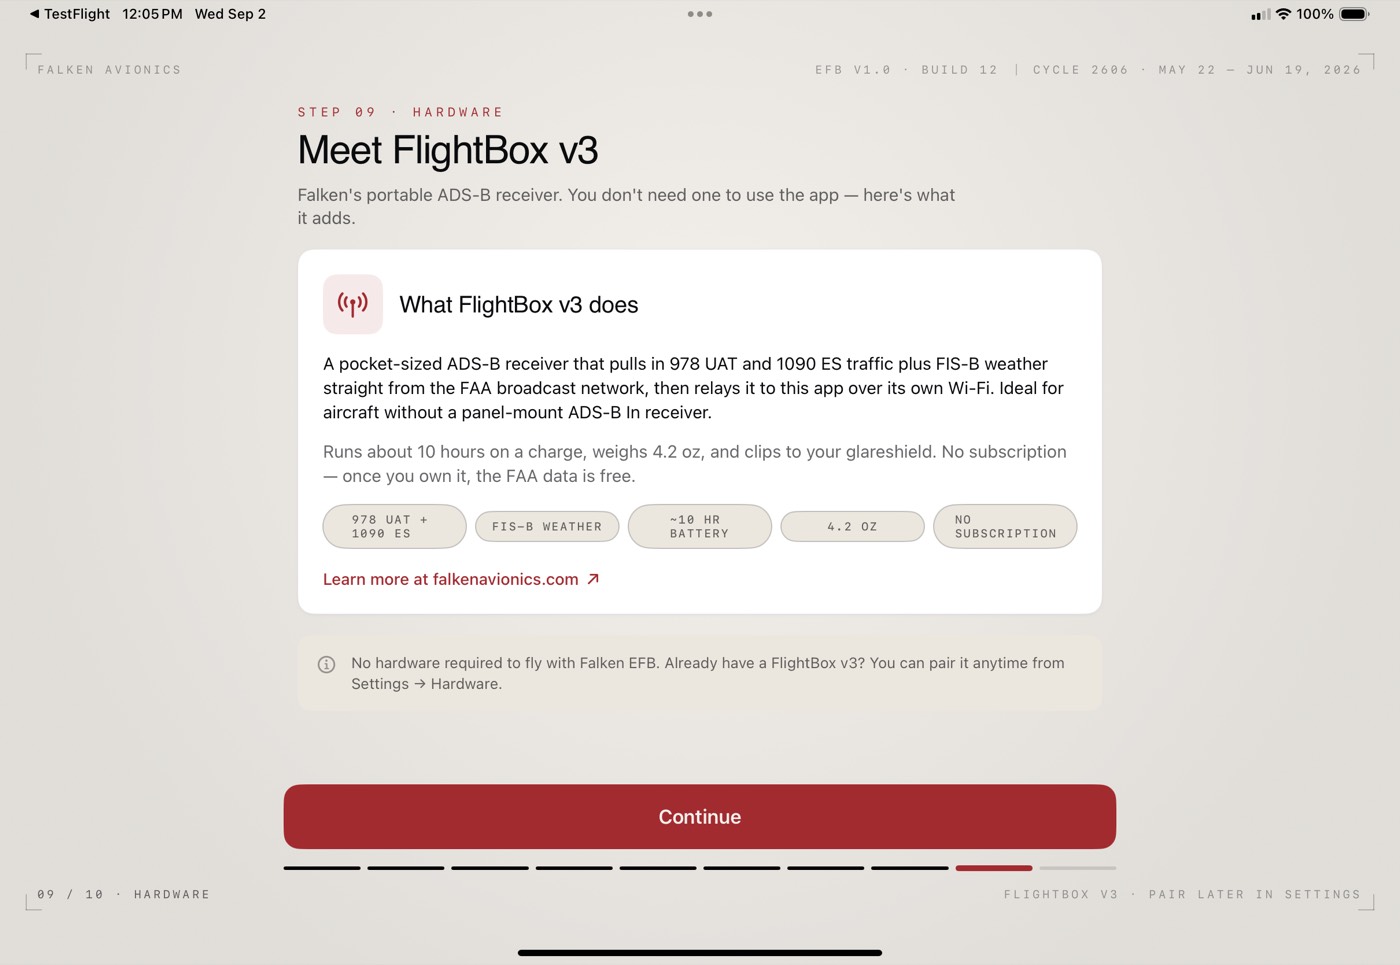
A one-screen introduction to FlightBox v3, the ADS-B receiver that pairs with the app for subscription-free weather and traffic in flight. Purely informational — no hardware needed for the beta. Tap Continue.
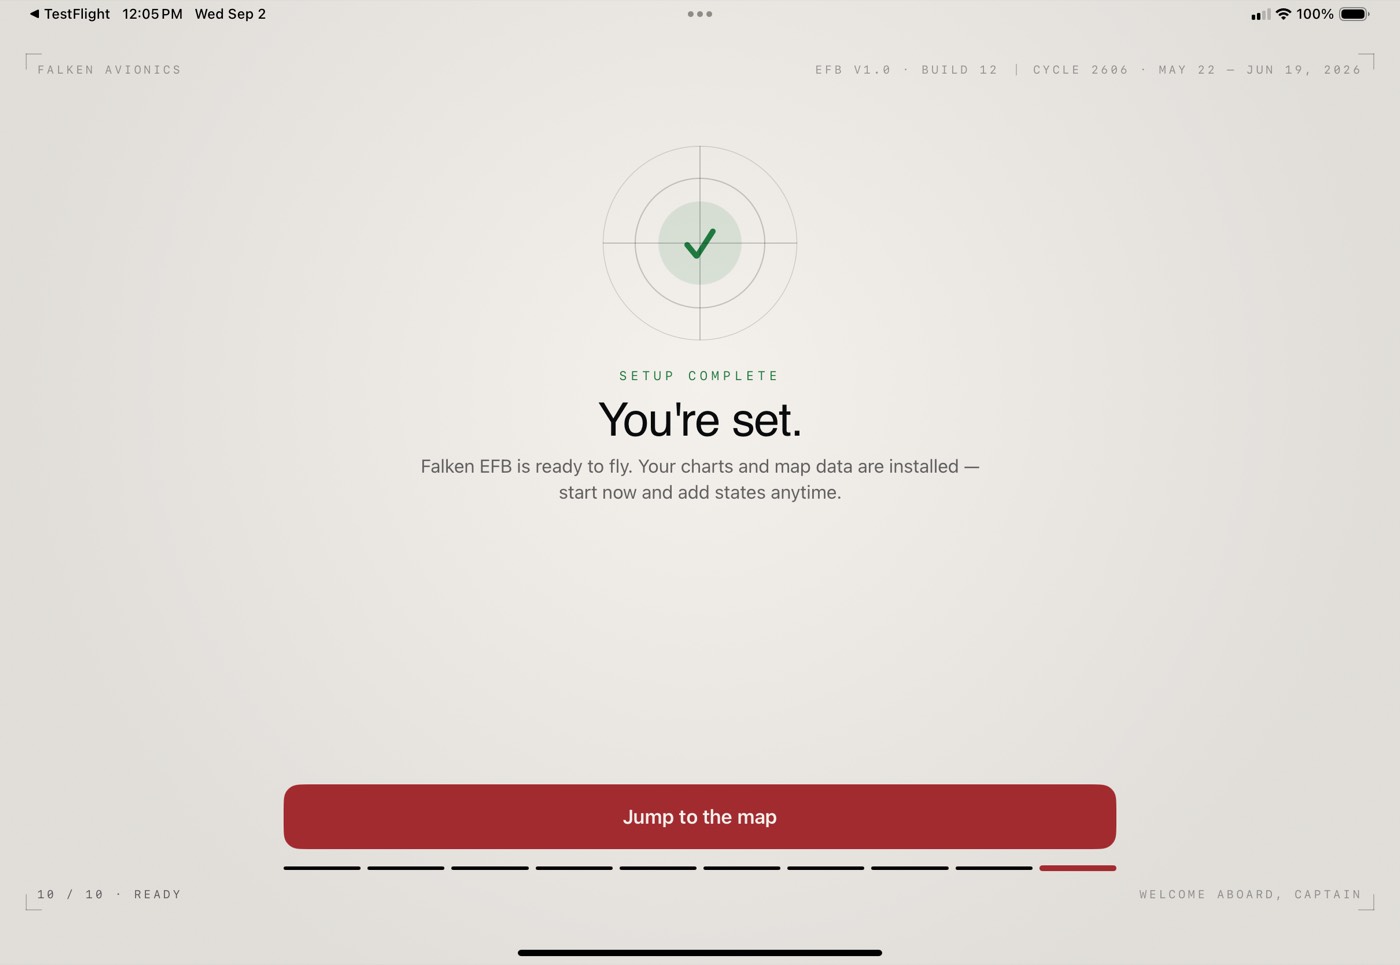
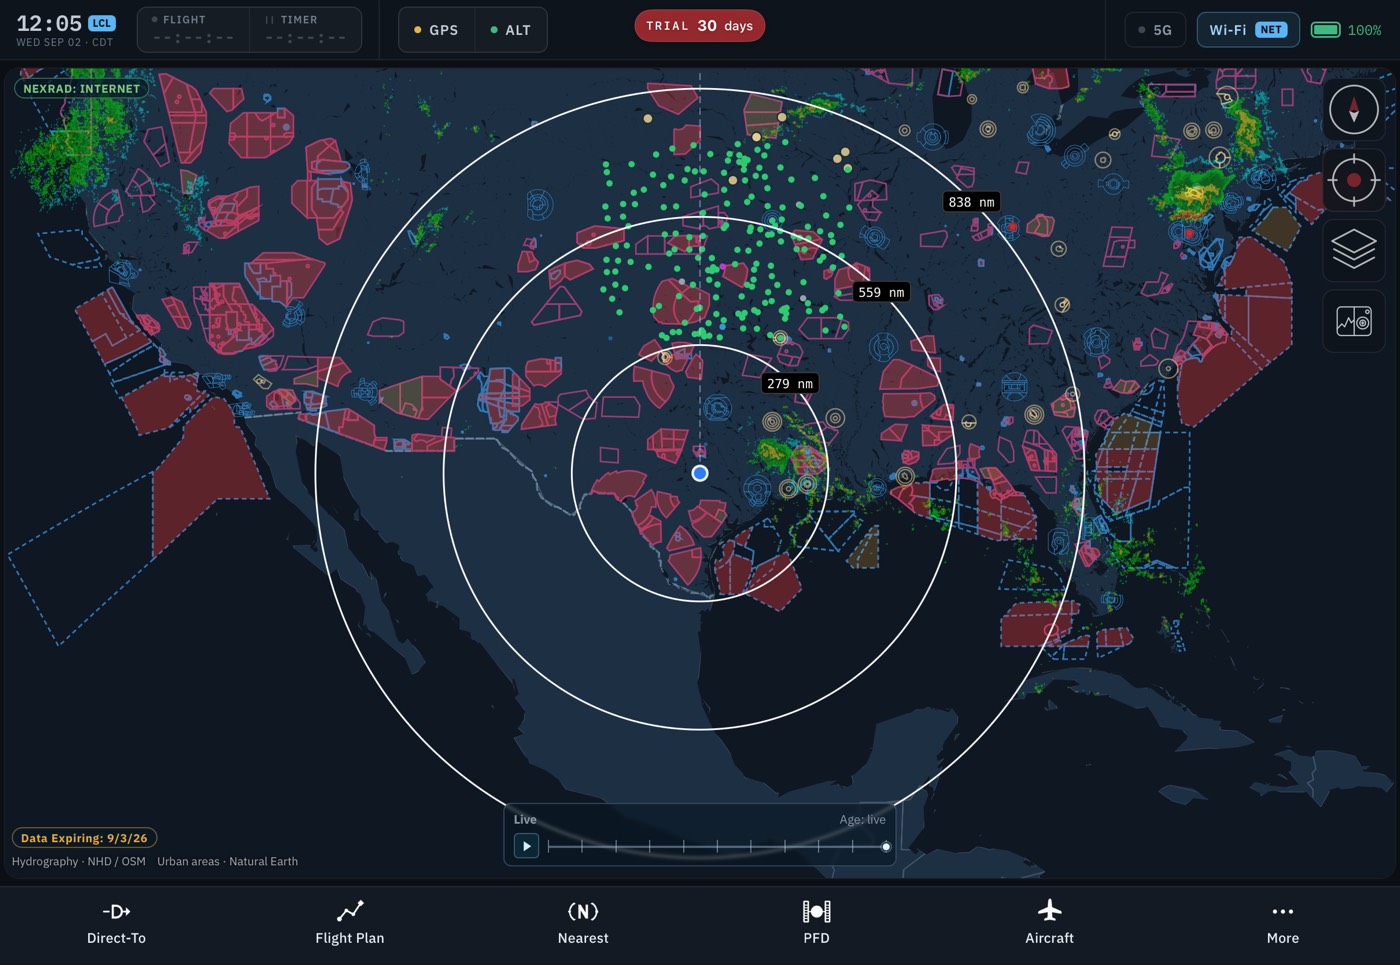
Jump to the map and you're flying the app. Chart downloads keep running in the background; give them a few minutes on Wi-Fi before you head to the airplane. From here, the Quickstart on the main page is your tour of what to try first.